Pièces détachées PHILIPS HD9046


* Prix indicatif de vente, le prix exact sera affiché après que vous ayez saisi la référence de votre appareil.
Les pièces détachées pour PHILIPS HD9046 vous rendent service
Vous ne savez pas où se situe le crochet qui vous permettrait de retirer la cuve de votre machine à pain de son support. Vous serez en mesure de démonter facilement la cuve de pétrissage de votre machine à pain en actionnant le bon loquet une fois que vous aurez lu la notice de votre PHILIPS HD9046. Ce matin, votre machine à pain a réalisé correctement la première partie de son programme mais elle a par la suite disjoncté, signe qu'une des pièces détachées électroménager est défectueuse. Une fois le programme de votre machine à pain choisi, vous appuyez sur la touche start mais votre appareil ne démarre pas. Il vous suffit de lire attentivement le guide de votre PHILIPS HD9046 pour comprendre de quelle façon engager le programme de cuisson de votre machine à pain dès lors que vous l'avez choisi.


Extrait du mode d'emploi PHILIPS HD9046
Les instructions détaillées pour l'utilisation figurent dans le Guide de l'utilisateur.
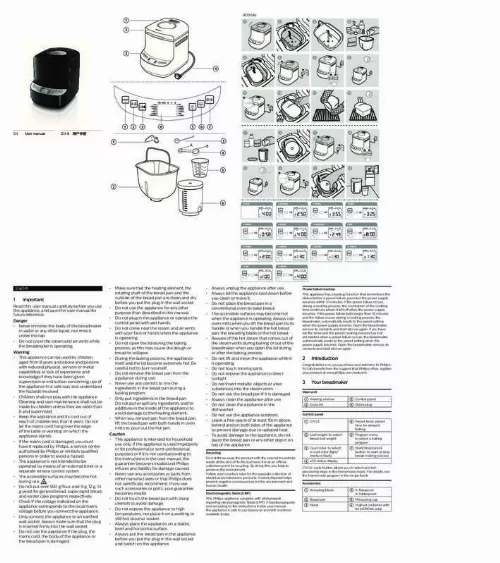
Do not touch moving parts. Do not expose the appliance to direct sunlight. Do not insert metallic objects or alien substances into the steam vents. Do not use the bread pan if it is damaged. Always clean the appliance after use. Do not clean the appliance in the dishwasher. Do not use the appliance outdoors. Leave a free space of at least 10cm above, behind and on both sides of the appliance to prevent damage due to radiated heat. To avoid damage to the appliance, do not place the bread pan or any other object on top of the appliance. Press (menu button) repeatedly to select the program. • The select program number and processing time are displayed. • For detailed program description, see section ‘Bread recipe’ below. 2 Press (crust color button) repeatedly to select the crust color. • The selected crust color can be changed from light to dark. 3 Press (loaf weight button) repeatedly to select the loaf weight. • Make sure the selected weight is appropriate for the amount of ingredients of the selected recipe. See section ‘Bread recipe’ below. 4 Press (Start/stop button) to start bread making process. Caution • During the baking process, the breadmaker itself and 2 Introduction the lid become extremely hot. Be careful not to burn yourself. »»The display counts down the processing time until the bread is ready. »»When the baking process is finished, the breadmaker beeps and goes to the keep-warm mode (for 60 minutes). Preset time for delayed baking c Control panel d Mains plug Congratulations on your purchase and welcome to Philips! To fully benefit from the support that Philips offers, register your product at www. philips. com/welcome. 3 Your breadmaker Main unit a Viewing window b Cover lid You can use the timer if you want the bread to be ready at a later time. The maximum delay time that can be set is 13 hours. Note Control panel a CYCLE e Preset timer: preset • Do not use the timer function with recipes that require time for delayed baking fresh ingredients that may go bad, for instance eggs, fresh milk, sour cream or cheese. b Loaf weight: to select bread loaf weight f Program menu: to select a baking program button: to start or stop bread making process 1 Put all ingredients in the bread pan. [...] • Do not use the appliance for any other purpose than described in this manual. • Do not plug in the appliance or operate the control panel with wet hands. • Do not come near the steam and air vents with your face or hands when the appliance is operating. • Do not open the lid during the baking process, as this may cause the dough or bread to collapse. • During the baking process, the appliance itself and the lid become extremely hot. Be careful not to burn yourself. • Do not remove the bread pan from the appliance during use. • Never use any utensils to mix the ingredients in the bread pan during a baking program. • Only put ingredients in the bread pan. Do not put or spill any ingredients and/or additives in the inside of the appliance to avoid damage to the heating element. • When you remove jam from the bread pan, lift the bread pan with both hands in oven mitts to pour out the hot jam. Caution • This appliance is intended for household use only. If the appliance is used improperly or for professional or semi-professional purposes or if it is not used according to the instructions in the user manual, the guarantee becomes invalid and Philips refuses any liability for damage caused. • Never use any accessories or parts from other manufacturers or that Philips does not specifically recommend. If you use such accessories or parts, your guarantee becomes invalid. • Do not touch the bread pan with sharp utensils to avoid damage. • Do not expose the appliance to high temperatures, nor place it on a working or still hot stove or cooker. • Always place the appliance on a stable, level and horizontal surface. • Always put the bread pan in the appliance before you put the plug in the wall socket and switch on the appliance. • • • • • • • • • • • • • • • • Always unplug the appliance after use. Always let the appliance cool down before you clean or move it. Do not place the bread pan in a conventional oven to bake bread. The accessible surfaces may become hot when the appliance is operating. Always use oven mitts when you lift the bread pan by its handle or when you handle the hot bread pan, the kneading blade or the hot bread. Beware of the hot steam that comes out of the steam vents during baking or out of the breadmaker when you open the lid during or after the baking process. [...]..
Téléchargez votre notice ! Téléchargement gratuit et sans inscription de tous types de documents pour mieux utiliser votre machine à pain PHILIPS HD9046 : mode d'emploi, notice d'utilisation, manuel d'instruction. Cette notice a été ajoutée le Lundi 11 Novembre 2019.

Envoyer vos modes d'emploi - Foire aux questions - Dernières recherches - Derniers ajouts - Sitemap - Contactez-nous - Conditions générales - Politique de cookies
Copyright - Tous droits réservés.
Les noms de marques cités appartiennent à leurs propriétaires respectifs.


