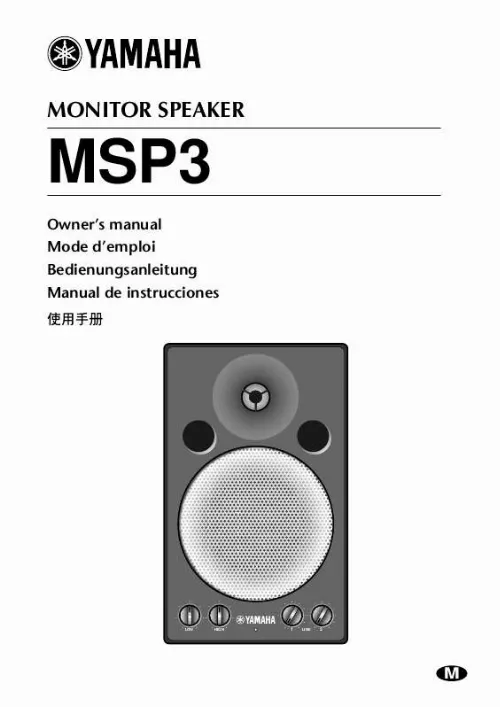
Notice YAMAHA MSP3
Liens commerciaux


Extrait du mode d'emploi YAMAHA MSP3
Les instructions détaillées pour l'utilisation figurent dans le Guide de l'utilisateur.
Leaving it connected is a potential fire hazard. · To prevent electrical shock when cleaning the unit, remove the power plug from the AC outlet. · XLR-type connectors are wired as follows: pin 1: ground, pin 2: hot (+), and pin 3: cold (). · This speaker is magnetically shielded. However, if a nearby monitor displays any uneven colors, place it further away from the monitor. · Using a mobile telephone near this unit may induce noise. If noise occurs, use the telephone away from the unit. 4 Front panel/Rear panel 5 LINE 2 level control This control knob enables you to adjust the volume level of the signal input at one of the INPUT LINE 2 jacks (8) on the rear panel. Turning the knob counterclockwise lowers the volume level, and turning it clockwise raises the level. 6 8 7 POWER ON INPUT LINE 1 (10dB) OFF LINE 2 (+4dB) PARALLEL LOW HIGH 1 LINE 2 1 2 3 4 5 6 POWER switch This switch turns the power to the MSP3 on and off. When you turn this switch on, the power indicator (3) lights up green. 1 LOW control This control knob enables you to adjust the bass in the range of 3dB to +3dB based on a reference value of 100Hz. The bass range is flat with the knob set at 12 o'clock, boosted when the knob is turned clockwise, and cut when the knob is turned counter-clockwise. 7 INPUT LINE 1 jack This input jack is used to connect an RCA pin plug. 2 HIGH control This control knob enables you to adjust the treble in the range of 3dB to +3dB based on a reference value of 10kHz. The treble range is flat with the knob set at 12 o'clock, boosted when the knob is turned clockwise, and cut when the knob is turned counter-clockwise. 8 INPUT LINE 2 jacks These balanced jacks are used to connect an XLR-3-31 type connector or a TRS phone plug to input line-level signals from a mixing console. 3 Power indicator This indicator lights up green when you turn the POWER switch on the rear panel ON. 4 LINE 1 level control This control knob enables you to adjust the volume level of the signal input at the INPUT LINE 1 jack (7) on the rear panel. Turning the knob counter-clockwise lowers the volume level, and turning it clockwise raise the level. CAUTION TO PREVENT ELECTRIC SHOCK, MATCH WIDE BLADE OF PLUG TO WIDE SLOT, FULLY INSERT. 5 Specifications q Amp. unit Maximum Output Power. [...] Consult your dealer for repair. Using the unit in this condition is a fire and electrical shock hazard. · Should this unit be dropped or the cabinet be damaged, turn the power switch off, remove the power plug from the AC outlet, and contact your dealer. If you continue using the unit without heeding this instruction, fire or electrical shock may result. Cautions · Keep this unit away from the following locations: Locations exposed to oil splashes or steam, such as near cooking stoves, humidifiers, etc. Unstable surfaces, such as a wobbly table or slope. Locations exposed to excessive heat, such as inside a car with all the windows closed, or places that receive direct sunlight. Locations subject to excessive humidity or dust accumulation. · Do not place the power cord close to a heater. It may melt, causing fire or electrical shock. · Hold the power cord plug when disconnecting it from an AC outlet. Never pull the cord. A damaged power cord is a potential fire and electrical shock hazard. · Do not touch the power plug with wet hands. Doing so is a potential electrical shock hazard. · When rack-mounting the unit, allow enough free space around the unit for normal ventilation. This should be: 10 cm at the sides, 20 cm behind, and 30 cm above. For normal ventilation during use, remove the rear of the rack or open a ventilation hole. If the airflow is not adequate, the unit will heat up inside and may cause a fire. · A speaker system placed on top of a table may move gradually due to vibration and may eventually fall off the table, causing damage or injury. In such an installation, fix the speaker system to the table and check it occasionally. 3 · To relocate the unit, turn the power switch off, remove the power plug from the AC outlet, and remove all connecting cables. Damaged cables may cause fire or electrical shock. · Turn off all musical instruments, and audio equipment when connecting to this unit. Use the correct connecting cables and connect as specified. · Always lower the volume control to minimum before turning on the power to this unit. A sudden blast of sound may damage your hearing. · Do not output distorted sounds for long periods of time, as this will cause the speaker to heat up, leading to a fire hazard. · Do not raise the volume of speakers to a level that makes you feel uncomfortable. Listening to loud music for long periods can damage your hearing. [...]..
Téléchargez votre notice ! Téléchargement gratuit et sans inscription de tous types de documents pour mieux utiliser votre YAMAHA MSP3 : mode d'emploi, notice d'utilisation, manuel d'instruction. Cette notice a été ajoutée le Samedi 10 Octobre 2008.
Vous pouvez télécharger les notices suivantes connexes à ce produit :
Vos avis sur le YAMAHA MSP3
 Exellentes enceintes que j'ai depuis 10 ans pour des 20 watts, celà déménage ! utilisées en home studio.


