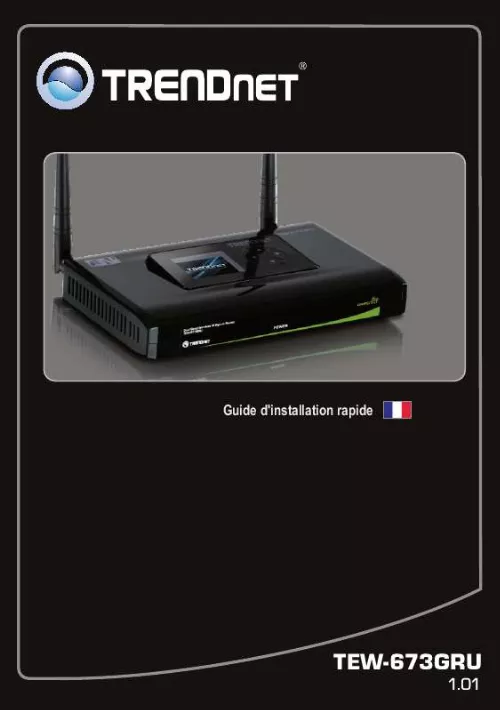
Notice TRENDNET TEW-673GRU
Liens commerciaux


Extrait du mode d'emploi TRENDNET TEW-673GRU
Les instructions détaillées pour l'utilisation figurent dans le Guide de l'utilisateur.
S�lectionnez Open folder to view files (Ouvrir le r�pertoire pour voir les fichiers) 4. Cliquez OK (Windows XP uniquement). Cliquez sur Disconnect (d�connecter) pour vous d�connecter du dispositif de stockage. 12 ������� ESPA�OL DEUTSCH ENGLISH Troubleshooting 1. I typed http://192. 1 in my Internet Browser's Address Bar, but an error message says "The page cannot be displayed. " How can I get into the TEW-673GRU's web configuration page? 1. Check your hardware settings again by following the instructions in Section 2. Make sure the LAN and WLAN lights are lit. Make sure your TCP/IP settings are set to Obtain an IP address automatically (see the steps below). Press on the factory reset button for 15 seconds. Windows 7 1. Go into the Control Panel, click Network and Sharing Center, click Change Adapter Settings and then right-click the Local Area Connection icon and then click Properties. Click Internet Protocol Version 4(TCP/IPv4) and then click Properties. Then click on Obtain an IP address automatically. Windows Vista 1. Go into the Control Panel, click Network and Internet, click Network and Sharing Center, click Manage Network Connections and then right-click the Local Area Connection icon and then click Properties. Click Internet Protocol Version 4(TCP/IPv4) and then click Properties. Then click on Obtain an IP address automatically. Windows XP/2000 1. Go into the Control Panel, double-click the Network Connections icon and then rightclick the Local Area Connection icon and then click Properties. 13 2. Click Internet Protocol (TCP/IP) and then click Properties. Then click on Obtain an IP address automatically. I am not sure what type of Internet Account Type I have for my Cable/DSL connection. How do I find out? Contact your Internet Service Provider's (ISP) support service for the correct information. The Wizard does not appear. What should I do? 1. Click on Wizard on the left hand side. Second, near the top of the browser, "Pop-up blocked" message appear. Right click on the message and select Always Allow Pop-ups from This Site. The next time to login to the TEW- 673GRU, this window will appear. Make sure your TCP/IP settings are set to Obtain an IP address automatically (see the steps below). I went through the Wizard, but I can not get onto the Internet. What should I do? 1. [...] 8 ENGLISH 4. Cliquez sur Next (Suivant). FRAN�AIS 5. Suivez les instructions de l'assistant d'installation. Cliquez sur Finish (Terminer). DEUTSCH ������� ESPA�OL 9 5. Impression Remarque : 1. Un seul utilisateur � la fois peut imprimer en mode de connexion automatique. D�s qu'un utilisateur a termin� son impression, un autre utilisateur peut utiliser l'imprimante pour imprimer ou scanner. Pour Mac OS X (10. 1 ~ 10. 4) des instructions, veuillez-vous r�f�rer au Guide de l'utilisateur sur le CD-ROM d'utilitaires. Double cliquez sur l'ic�ne du Centre de contr�le USB TRENDnet. S�lectionnez l'imprimante. Cliquez sur Auto-Connect Printer et sur Set Auto-Connect Printer. DEUTSCH ������� ESPA�OL 3. S�lectionnez l'imprimante d�sir� et cliquez sur Apply (Appliquer). Le Centre de contr�le USB indiquera maintenant l'imprimante Auto-Connected Printer (Imprimante auto connect�e). L'utilsateur peut maintenant commencer � imprimer. S�lectionnez l'imprimante. Cliquez ensuite sur Disconnect. (D�connecter) (optionnel) Remarque: Pour l'impression en mode de connexion automatique, un utilisateur ne doit pas attendre que l'utilisateur en cours clique sur Disconnect. Suivez l'�tape 1 pour devenir propri�taire du serveur d'impression. 10 FRAN�AIS ENGLISH 6. Scannage Remarque: 1. Seulement un utilisateur � la fois peut scanner sous le mode Scanner de R�seau. Lorsque l'utilisateur a fini de scanner, un autre utilisateur pourra � ce moment l� scanner des nouveaux documents. Pour Mac OS X (10. 1 ~ 10. 4) des instructions, veuillez-vous r�f�rer au Guide de l'utilisateur sur le CD-ROM d'utilitaires. FRAN�AIS ENGLISH 1. S�lectionnez l'imprimante. Cliquez sur Network Scanner (Scanneur r�seau). Mettez le document sur la vitre du scanner de l'imprimante multifonction. DEUTSCH 3. Cliquez ensuite sur Scan. ESPA�OL 4. Donnez-lui un nom, s�lectionnez le type d'image et choisissez le chemin d�sir�. Cliquez ensuite Next (Suivant). ������� 5. Patientez pendant que l'image est votre cours de num�risation. Puis cliquez sur Close (Fermer). 11 7. Stockage Remarque: 1. Un seul utilisateur � la fois peut se brancher sur le dispositif de stockage USB 2. Pour Mac OS X (10. 1 ~ 10. 4) des instructions, veuillez-vous r�f�rer au Guide de l'utilisateur sur le CD-ROM d'utilitaires. Double cliquez sur l'ic�ne du Centre de contr�le USB TRENDnet. FRAN�AIS 2. [...]..
Téléchargez votre notice ! Téléchargement gratuit et sans inscription de tous types de documents pour mieux utiliser votre routeur ou modem TRENDNET TEW-673GRU : mode d'emploi, notice d'utilisation, manuel d'instruction. Cette notice a été ajoutée le Mardi 11 Novembre 2010.
Vous pouvez télécharger les notices suivantes connexes à ce produit :
 TRENDNET TEW-673GRU DATASHEET (1040 ko)
 TRENDNET TEW-673GRU (5244 ko)

