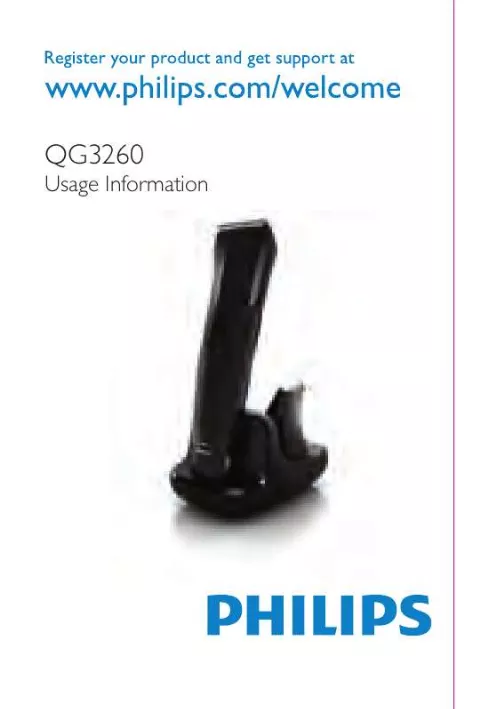
Notice PHILIPS QG 3260
Liens commerciaux


Extrait du mode d'emploi PHILIPS QG 3260
Les instructions détaillées pour l'utilisation figurent dans le Guide de l'utilisateur.
The staff of this centre will remove the battery for you and will dispose of it in an environmentally safe way. 32) Disposal of the battery Only remove the battery when it is completely empty. 1 Disconnect the appliance from the mains and let the appliance run until the motor stops. 2 Remove any comb and/or attachment from the appliance. 3 Remove the top part of the appliance with a screwdriver (Fig. 4 Pull the inner part out of the appliance (Fig. 5 Pry open the inner part and pull out the battery (Fig. 6 Cut the wires close to the battery with a pair of household scissors. Do not connect the appliance to the mains again after you have removed the battery. Guarantee & service If you need service or information or if you have a problem, please visit the Philips website at www. philips. com or contact the Philips Consumer Care Centre in your country (you find its phone number in the worldwide guarantee leaflet). If there is no Consumer Care Centre in your country, go to your local Philips dealer. - 4203. 2 4/7 FRAnçAIS Introduction Félicitations pour votre achat et bienvenue dans l'univers Philips ! Pour profiter pleinement de l'assistance Philips, enregistrez votre produit sur le site à l'adresse suivante : www. philips. com/welcome. Description générale (fig. 1) A B C D E F G H I J K L M N O P Q R Poignée Indicateur de réglage Bouton on/off Prise pour la fiche de l'appareil Mini rasoir Sabot pour cheveux Sélecteur Tondeuse pour nez ou oreilles Tondeuse de précision Sabot de précision Mini tondeuse Bloc tondeuse Sabot pour barbe Brosse de nettoyage Adaptateur Fiche de l'appareil Voyant de charge Socle Important Lisez attentivement ce mode d'emploi avant d'utiliser l'appareil et conservez-le pour un usage ultérieur. Danger Veillez à ce que l'adaptateur ne soit pas en contact avec de l'eau. [...] 5 Regularly remove cut hair from the comb. If a lot of hair has accumulated in the comb, remove the comb from the appliance and blow and/or shake the hair out of it. Contouring without hair clipping comb You can use the appliance without hair clipping comb to clip hair very close to the skin (0. 6mm) or to contour the neckline and the area round the ears. Be careful when you clip without comb because the cutting element removes every hair it touches. 1 Press the setting selector upwards and pull the comb off the handle. 12) 2 Before you start to contour the hairline round the ears, comb the hair ends over the ears. 3 Tilt the appliance in such a way that only one edge of the cutting element touches the hair ends when you shape the contours round the ears (Fig. Only cut the hair ends. The hairline should be close to the ear. 4 To contour the neckline and sideburns, turn the appliance and make downward strokes (Fig. Move the appliance slowly and smoothly. Follow the natural hairline. Cutting shapes with micro trimmer You can use the micro trimmer to cut shapes in scalp hair. It cuts hair very close to the skin (0. Be careful when you use the micro timmer because it removes every hair it touches. 1 Put the micro trimmer on the handle (see section `Attaching/detaching attachments' in chapter `Preparing for use'). 2 Make careful and controlled movements with the micro trimmer. - To achieve a good cutting result, move the trimmer against the direction of hair growth. - Always make sure the micro trimmer is fully in contact with the skin. Trimming Preparing for trimming Make sure that the appliance is fully charged before you start trimming. It is not possible to run the appliance from the mains. 1 Comb the hair to be trimmed (beard, moustache, sideburns, eyebrows) with a fine comb...
Téléchargez votre notice ! Téléchargement gratuit et sans inscription de tous types de documents pour mieux utiliser votre PHILIPS QG 3260 : mode d'emploi, notice d'utilisation, manuel d'instruction. Cette notice a été ajoutée le Lundi 12 Décembre 2011.


