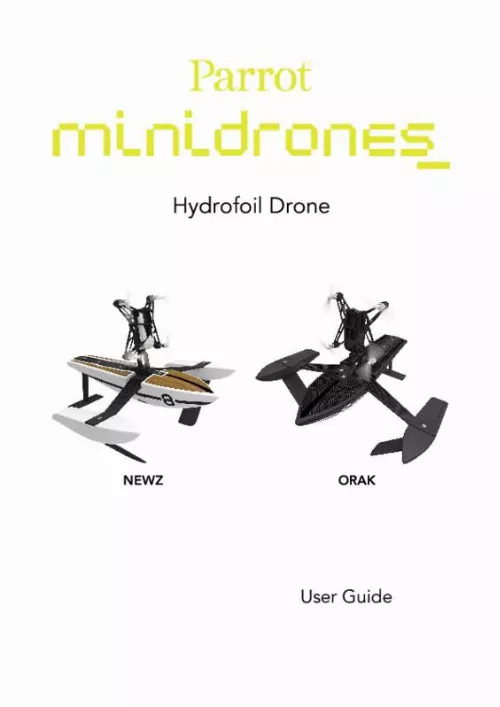
Notice PARROT HYDROFOIL RTF
Liens commerciaux


Le mode d'emploi PARROT HYDROFOIL RTF vous rend service
Vous voulez savoir pourquoi, malgré le remplacement des piles et la charge de la batterie, votre drone refuse de se calibrer et de décoller, alors que vous suivez la procédure habituelle. Vous voulez savoir pourquoi, après un an sans utilisation, votre drone ne parvient pas à se calibrer ni à décoller malgré le changement des piles et la charge de la batterie. Pour retrouver les consignes en français, consultez le mode d'emploi si cela fait 1 an que vous n'avez pas utilisé votre drone PARROT HYDROFOIL RTF qui marchait très bien. Vous avez changé les piles et chargé la batterie, mais il ne veu tpas se calibrer ni décoller malgré vos actions habituelles. Vous ignorez pourquoi, après un an sans utilisation, votre drone qui fonctionnait très bien ne se calibre plus et ne décolle pas. Vous voulez savoir pourquoi, après un an sans utilisation, votre drone qui fonctionnait parfaitement ne parvient plus à se calibrer ni à décoller. La notice vous donnera la solution si cela fait 1 an que vous n'avez pas utilisé votre drone PARROT HYDROFOIL RTF qui marchait très bien. Vous avez changé les piles et chargé la batterie, mais il ne veut pas se calibrer ni décoller alors que vous faites comme d'habitude.
Extrait du mode d'emploi PARROT HYDROFOIL RTF
Les instructions détaillées pour l'utilisation figurent dans le Guide de l'utilisateur.
Insert the front of the MiniDrone in its support, the head facing the front of the Hydrofoil. Ensure that the two front lugs on the support are inserted into the front arms of the MiniDrone (photo A). Fasten the clip on the rear of the MiniDrone (photo B). Switching on the MiniDrone Insert the battery into the slot or press the On/Off button underneath the MiniDrone. Then place your MiniDrone on complete its initialisation phase. The eyes of the MiniDrone will turn red, amber, and then green. a flat surface so it can Compatibility You need a smartphone or tablet that supports Bluetooth ® 4. 0 to use the MiniDrone. For more information, go to the Compatibility page on our website. 6 Before getting started Downloading the app Log into the App StoreTM or Google PlayTM and download the free FreeFlight3 app. Connecting a smartphone Since the MiniDrone uses normal list of Bluetooth Bluetooth ® Low Energy, it will not be displayed in the ® devices shown on your phone. You will only be able to see it and connect to it via the FreeFlight3 app. Activate the Bluetooth® function on your smartphone. Launch the FreeFlight3 app. Press to bring up the list of MiniDrones located near your smartphone. > The MiniDrone will connect to your smartphone automatically. A pop-up window saying "Sending status" and then "Connected" will appear. > The > The icon shows which MiniDrone is currently connected. icon indicates the status of the Bluetooth ® connection between your smartphone and the MiniDrone. The number of bars displayed indicates the quality of the connection. If your phone doesn't automatically connect to the MiniDrone, select the name of your MiniDrone from the list. Before getting started 7 Flying 1. FreeFlight3 アプリ メイン画 面 が表 示 されます 。 ケーションを起動させる 2. [...] 25 Modifications. 25 Recycling this product. 26 Declaration of Conformity. 26 Registered trademarks. 26 Notice regarding the right to privacy. 27 Before getting started Assembling the Hydrofoil A T10 screwdriver (supplied) is needed to assemble the Hydrofoil. Do not overtighten the screws. Remove the elastic band from the hull. Screw the arm onto the hull with 2 screws (diagram A). Insert the MiniDrone support into the slot on the central spindle (diagram B). Screw the central spindle onto the hull with 4 screws (diagram C). Insert the two lateral floats into the ends of the arm. Insert then screw the two lateral fins into the floats with 2 screws (diagram D). Insert then screw the tail fin into the slot located at the rear of the hull with 1 screw (diagram E). In order to avoid any risk of the Hydrofoil losing its shape, keep it on its original support. 4 Before getting started Charging the battery 1. Insert the battery into the compartment provided (photos A and B). The small triangle on the battery indicates which side should be on top. The direction the triangle is pointing in shows which way the battery should be inserted. Plug in the MiniDrone (photos C and D): · · When using a charger with a minimum power rating of 2. 4 A, charging time is approximately 25 minutes. When charging through a computer using the USB cable, charging time is approximately 1 hour and 30 minutes. To remove the battery, lift the flap located underneath the battery and slide it to the rear. [...]..
Téléchargez votre notice ! Téléchargement gratuit et sans inscription de tous types de documents pour mieux utiliser votre drone PARROT HYDROFOIL RTF : mode d'emploi, notice d'utilisation, manuel d'instruction. Cette notice a été ajoutée le Mercredi 3 Mars 2020.


