Notice OREGON SCIENTIFIC STATION MÉTÉO PROFESSIONNELLE
Liens commerciaux


Extrait du mode d'emploi OREGON SCIENTIFIC STATION MÉTÉO PROFESSIONNELLE
Les instructions détaillées pour l'utilisation figurent dans le Guide de l'utilisateur.
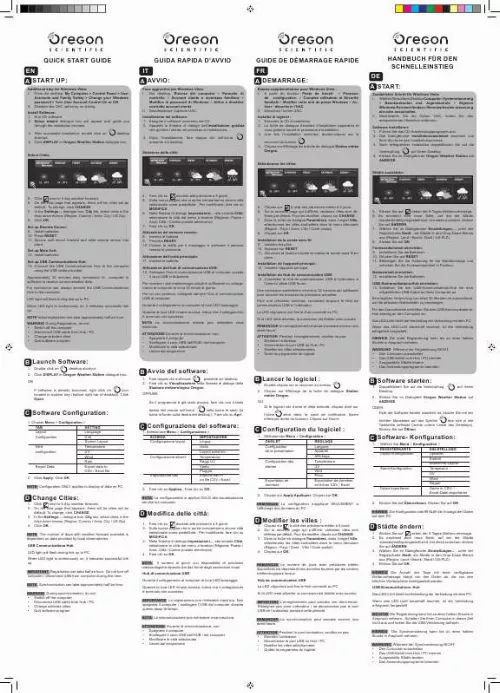
Falls die Software bereits installiert ist, klicken Sie mit der rechten Maustaste auf das Symbol das sich in der Taskleiste befindet (rechte untere Leiste des Desktops). Klicken Sie auf Öffnen. C Software Configuration: 1. Choose Menu > Configuration > TAB SETTING Layout Language Configuration Unit Screen Layout Alert Temperature configuration UV Wind Rain Export Data Export data to CSV / Excel file 2. Click Apply. Click OK. ODER C Configurazione del software: 1. Selezionare Menu > Configurazione > SCHEDA IMPOSTAZIONE Configurazione layout Lingua Unità Layout schermo Configurazione allarmi Temperatura Raggi UV Vento Pioggia Esportazione dati Esporta dati in un file CSV / Excel 2. Fare clic su Applica. Fare clic su OK. C Configuration du logiciel : 1. Sélectionnez Menu > Configuration > ONGLET REGLAGE Configuration Langues de la présentation Appareil Affichage Configuration des Température alertes UV Vent Pluie Exportation de Exportation de données données en fichier CSV / Excel Cliquez sur Apply Appliquer. Cliquez sur OK. C Software- Konfiguration: Wählen Sie Menü > Konfiguration > REGISTERKARTE EIN-STELLUNG Layout-Konfiguration Sprache Einheit Bildschirm-Layout Alarm-Konfiguration Temperatur UV Wind Regen Daten exportieren Daten in CSV- / Excel-Datei exportieren Klicken Sie auf Übernehmen. Klicken Sie auf OK. NOTE Configuration ONLY applies to display of data on PC. D Change Cities: 1. next to 5 day weather forecast. Click On the new page that appears, there will be cities set as default. To change, click CHANGE. In the Settings. dialogue box, City tab, select cities in the drop down menus (Region; Country / Area; City / US Zip). Click OK. NOTA La configurazione si applica SOLO alla visualizzazione dei dati sul computer. D Modifica delle città: 1. Fare clic su accanto alle previsioni a 5 giorni. Sulla nuova pagina che si aprirà compariranno alcune città selezionate come predefinite. Per modificarle, fare clic su MODIFICA. Nella finestra di dialogo Impostazioni. , alla scheda Città, selezionare le città dal menu a tendina (Regione; Paese / Area; Città / Codice postale americano). Fare clic su OK. REMARQUE La configuration s'applique SEULEMENT à l'affichage des données du PC. D Modifier les villes : 1. HINWEIS Die Konfiguration betrifft NUR die Anzeige der Daten auf dem PC. [...] Klicken Sie auf OK. Funksendeeinheit einrichten: 9. Installieren Sie die Batterien. Drücken Sie auf RESET. Befestigen Sie die Halterung für die Wandmontage und schieben Sie die Funksendeeinheit in Position. Basiseinheit einrichten: 12. Installieren Sie die Batterien. USB-Kommunikations-Hub einrichten: 13. Schließen Sie den USB-Kommunikations-Hub mit dem mitgelieferten USB-Kabel an Ihren Computer an. Eine tägliche Verbindung von etwa 30 Minuten ist ausreichend, um die aktuellen Wetterdaten zu empfangen. Für den Dauerbetrieb schließen Sie den USB-KommunikationsHub ständig an den Computer an. Das LED-Licht blinkt bei Herstellung der Verbindung mit dem PC. Wenn das LED-Licht dauerhaft leuchtet, ist die Verbindung erfolgreich hergestellt. HINWEIS Die erste Registrierung kann bis zu einer halben Stunde in Anspruch nehmen. WARNUNG Während der Registrierung NICHT: · Den Computer ausschalten · Das USB-Kabel vom Hub / PC trennen · Ausgewählte Städte ändern · Das Anwendungsprogramm beenden For continuous use, always connect the USB Communications Hub to the computer. LED light will flash during link up to PC. When LED light is continuously on, it indicates successful link up. NOTE Initial registration can take approximately half an hour. WARNING During Registration, do not: · Switch off the computer · Disconnect USB cable from Hub / PC · Change selected cities · Quit software program B Launch Software: 1. OR If software is already launched, right click on icon located in system tray (bottom right bar of desktop). Click Open. Double click on desktop shortcut. Click DISPLAY in Oregon Weather Station dialogue box. B Avvio del software: 1. Fare doppio clic sull'icona presente sul desktop. Fare clic su Visualizzazione nella finestra di dialogo della Stazione meteorologica Oregon. OPPURE Se il programma è già stato avviato, fare clic con il tasto destro del mouse sull'icona nella barra di stato (la barra in fondo sulla destra del desktop). Fare clic su Apri B Lancer le logiciel : 1. 2 OU Si le logiciel est d'ores et déjà exécuté, cliquez droit sur l'icône situé dans la zone de notification (barre inférieure droite du bureau). Cliquez sur Ouvrir. Double-cliquez sur le raccourci du bureau. Cliquez sur Affichage de la boîte de dialogue Station météo Oregon. B Software starten: 1. Doppelklicken Sie auf die Verknüpfung Desktop. [...]..
Téléchargez votre notice ! Téléchargement gratuit et sans inscription de tous types de documents pour mieux utiliser votre radio-réveil OREGON SCIENTIFIC STATION MÉTÉO PROFESSIONNELLE : mode d'emploi, notice d'utilisation, manuel d'instruction. Cette notice a été ajoutée le Mardi 3 Mars 2009.
Vos avis sur le OREGON SCIENTIFIC STATION MÉTÉO PROFESSIONNELLE
 Tres ien, très bien.


