Mes Notices

600 000 notices et 900 000 pièces détachées électroménager

Notice LENCO CS-171

Télécharger la notice

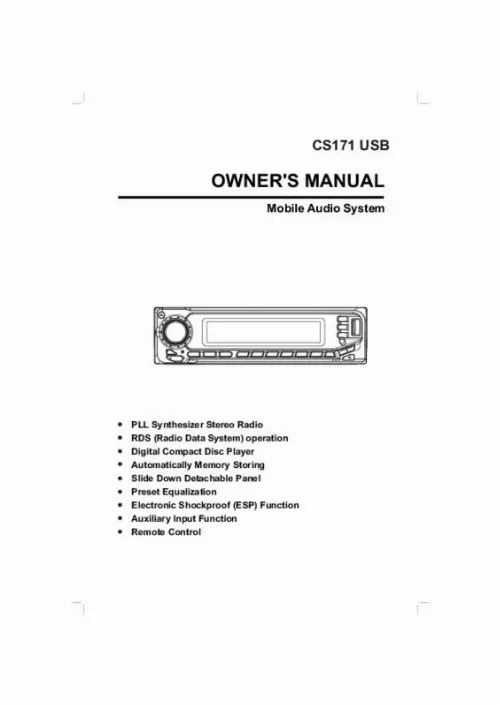
Extrait du mode d'emploi LENCO CS-171

Les instructions détaillées pour l'utilisation figurent dans le Guide de l'utilisateur.

SWITCHING ON/OFF THE UNIT AND ILLUMINATING Switch on the unit by pressing any button (except OPEN button (7) and button (4) When system is on, press power/DIM button (9) shortly to control the brightness of VFD. Press it for several seconds to turn off the unit. FACEPLATE RELEASE Press OPEN button (7) to detach the removable faceplate. SOUND ADJUSTMENT Press SEL button (10) to shortly select the desired adjustment mode. The adjustment mode will change in the following order: Volume Bass Treble Balance Fader By rotating the VOL knob (11) clockwise or counter-clockwise, it is possible to adjust the desired sound quality. Press SEL button (10) for several seconds, it is activated as cyclical mode of following functions for user's selection. TA SEEK or ALARM PI SOUND or MUTE MASK DPI or ALL RETUNE L or S BEEP 2'nd or OFF is set by RETUNE SHORT (30 sec. ) or RETUNE LONG (90 sec. ), the radio start to retune to next same PI station. When same PI station does not catch in 1 cyclic search, the radio retunes to next station with TP information. - TA ALARM mode: When this mode is selected, any automatic retune mode is not activated. Only double beep sound (ALARM) is output. When newly tuned station does not have TP information for several seconds, beeps come out. When TP information gets lost at the current station for retune time, the beep sound is out-putted. When newly tuned station has no RDS signal, "PI SEEK" is suppressed somewhat. b) PI SOUND or PI MUTE While AF switching is implemented in C201 station, AF can switch to 100 MHz, which is non genuine AF (where, different PI with same AF) in short "DIP". If a car cruises that critical area back and forth, an oscillation phenomenon can be occurred, because the different PI code can be received from 100 MHz with "XXX"PI. The car radio has special procedure to reduce even this kind of unavoidable situation however there is a limit to be escaped from this serious case perfectly. [...] DIN REAR-MOUNT (Method B) If your vehicle is a Nissan, Toyota, follow these mounting instructions. Use the screw holes marked T (Toyota), N (Nissan) located on both sides of the unit to fasten the unit to the factory radio mounting brackets supplied with your vehicle. Side View showing Screw Holes marked T, N Screw Factory Radio Mounting Bracket Screw Hook Dashboard or Console To fasten the unit to the factory radio mounting brackets. Use a screwdriver to loose the hook's screws on the front left and right sides of the unit and remove the hooks. 5 USING THE DETACHABLE FRONT PANEL To Detach the Front Panel 1. Press the OPEN button, then the front panel will slide down. The left side PEN O Front Panel The right side 2. To remove the front panel, lift it up at a little angle from horizontal position, then first pull out the right side and then pull out the left side. When the two sides fixed int palce, push the front panel into main unit. The left side Front Panel The right side 3. For safekeeping, store the front panel in the supplied protective case immediately after being removed. Protective Case Front Panel To lnstall the Front Panel 1. To install the front panel, first insert the left side into proper position then insert the right side into place. Note that if the front panel fails to lock in position properly, pressing control button may not function and the display may be missing some segments. Press the OPEN button and then reinstall the front panel again. Precautions when handling 1. Do not drop the front panel. Do not put pressure on the display or control buttons when detaching or reinstalling the front panel. Do not touch the contacts on the front panel or on the main unit body. It may result in poor electrical contact. If any dirt or foreign substances adhered on the contacts, they can be removed with a clean and dry cloth. Do not expose the front panel to high temperatures or direct sunlight in anywhere. Keep away any volatile agents (e. benzene, thinner, or insecticides) from touching the surface of the front panel 7. Do not attempt to disassemble the front panel. [...]..

Téléchargez votre notice ! Téléchargement gratuit et sans inscription de tous types de documents pour mieux utiliser votre autoradio LENCO CS-171 : mode d'emploi, notice d'utilisation, manuel d'instruction. Cette notice a été ajoutée le Mercredi 10 Octobre 2017.

Le mode d'emploi LENCO CS-171 vous rend service

Vous n'avez plus accès au menu des réglages de votre autoradio et vous souhaitez obtenir une documentation détaillée en français. L'écran de votre autoradio est fissuré et vous vous demandez comment le changer. Votre autoradio vous demande un code que vous avez oublié. Vous souhaitez démonter votre autoradio et vous souhaitez nous contacter par mail ou par téléphone. Vous n'avez plus de son sur votre autoradio et vous souhaitez régler la luminosité de l'écran. Veuillez vous référer au mode d'emploi de votre LENCO CS-171 pour régler la luminosité. Vous vous demandez combien de temps est garanti votre autoradio. Après avoir changé la batterie de votre voiture, votre autoradio vous demande un code que vous n'avez pas. Vous vous demandez comment régler la langue et le son de votre autoradio. Le port USB de votre autoradio ne fonctionne plus et vous ne pouvez pas vous connecter en bluetooth avec votre autoradio. Vous n'arrivez plus à allumer votre autoradio. Veuillez vous référer au schéma de montage de votre LENCO CS-171 pour sa mise en marche.

Liens commerciaux