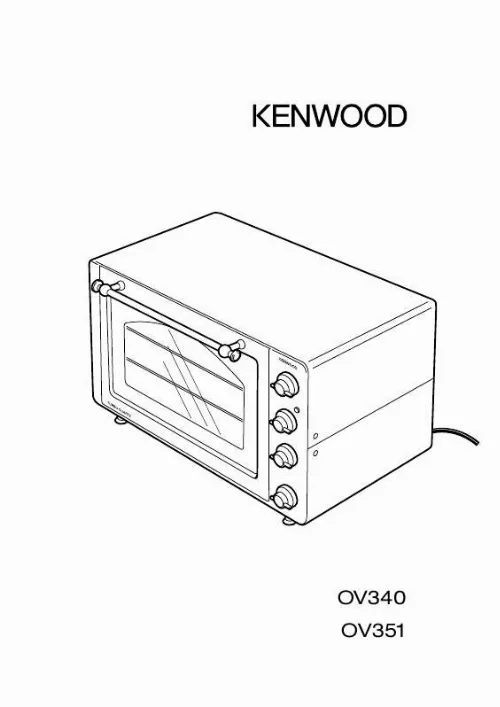
Pièces détachées KENWOOD OV351


* Prix indicatif de vente, le prix exact sera affiché après que vous ayez saisi la référence de votre appareil.
Les pièces détachées pour KENWOOD OV351 vous rendent service
A la mise en route du four, le message "DEMO ON" s'affiche et le four ne se met pas en route. Vous avez débranché électriquement le four et l'avez rebranché, mais vous avez toujours le même message. Pour savoir ce que ce message signifie et comment parvenir à mettre en route le four, consultez le mode d'emploi de votre KENWOOD OV351. Vous trouverez tous les renseignements nécessaires. Il vous est impossible de mettre le four en marche, signe qu'une des pièces détachées d'électroménager pour four est défectueuse. La lumière fonctionne mais dés que vous tournez le bouton gauche, la lettre C s'allume avec 3 tirets avant le C. Le four ne tient pas la température. Elle descend toute seule, sans raison apparente. La notice d'utilisation de votre KENWOOD OV351 vous sera utile pour remédier aux dysfonctionnements que vous rencontrez. Vous ferez rapidement une utilisation optimale de votre four.


Extrait du mode d'emploi KENWOOD OV351
Les instructions détaillées pour l'utilisation figurent dans le Guide de l'utilisateur.
turbo quartz cooking Dish/Recipe Bread 500g (5min preheat) Soufflé (3min preheat) Pizza Quiche Lorraine Fish - Cod, Bream, Salmon etc Meat Beef Leg of lamb Pork Veal Duck Rabbit Chicken 3 3 3 3 3 3 3 7-8 7-8 7-8 7-8 7-8 7-8 7-8 20mins 20mins 25mins 20mins 60 - 90mins 40 - 45mins 60 - 90mins Setting 3 3 3 3 3 Temperature Position 10 then 8 - 9 6 then 8 8 8 8-9 Cooking time 45mins 25mins 25mins 20mins 10 - 15mins 5 quartz grill or spit roast Dish/Recipe Grill or spit roast Beef or mutton Pork Veal Poultry ie Chicken, Turkey, Duck Grill Toast Gratins Beef steaks Lamb or veal chops Sausages Fish steaks 4 1 then 4 4 4 4 4 G G Setting Temperature Position Cooking time 4 4 4 4 10 10 10 10 35mins 45mins 45mins 60 - 110mins 8 - 10 4 then 10 10 10 10 10 10mins Setting 1 - 10mins Setting 4 - 10mins 10mins 10mins 10mins 10mins care and cleaning G Switch off, unplug and allow the oven to cool completely before cleaning. oven exterior Wipe with a damp cloth or non abrasive cleaner and dry thoroughly. oven interior Clean the door with warm water and a non-abrasive cleaner. The bottom heating element can be lifted up slightly to clean the bottom of the oven. To avoid damage take care when lifting the element. Grease particles on the quartz tubes will normally evaporate during operation of the oven. Do not attempt to clean the actual quartz tubes as damage may occur. The oven has self-cleaning panels which are covered with porous enamel that will absorb grease. Do not scrape the surface with sharp utensils or scourers and do not clean using detergent based products. To clean and extend the life of the self cleaning surface :a) After cooking greasy foods - heat the oven when empty for 15minutes with the door open on setting 2(ventilated pastry) and the temperature set to maximum. [...] Fit the spit. When using the spit roast function the door must be left half opened. Set the cooking time required using the timer. Refer to the cooking tables for the approx. times to use. programmable timer (OV351 only) Do not use the programmable timer with the grill or spit roast functions. Do not use this for perishable food such as meat, poultry, fish or seafood. To use the programmable timer first set the required cooking mode, temperature and cooking time as explained in the previous section. Then turn the timer to the required delayed time. For Example: if you wish to set the oven up at 11am to cook a dish that takes 1 hour to be ready at 2pm. The timer then needs to be set to position 2 (2 hours), this is the difference between the time when you set the timer and the time that you need the oven to come on (1pm) for the dish to be ready at 2pm. The oven will not operate unless a cooking time has been selected. The oven will automatically switch off when the timer reaches "0". convection setting Select setting 1 on the setting control. Turn the temperature control to select the temperature required. For defrosting and keeping food warm turn the temperature control to position 1. Set the cooking time using the timer. Refer to the cooking tables for the times and temperatures to use for individual recipes. ventilated pastry setting Select setting 2 on the setting control. Only the bottom element will operate continuously on full power. The temperature control should be set to "0" unless the top Quartz tubes are required as well to brown, grill or crisp the top of the food. Refer to the cooking tables for the approx. times and temperatures to use for individual recipes. Set the cooking time required using the timer. Note: the indicator light will not come on unless a temperature has been selected for the quartz tubes. turbo quartz setting Select setting 3 on the setting control. Turn the temperature control to select the temperature required. Refer to the cooking tables for the approx. times and temperatures to use for individual recipes. Set the cooking time required using the timer. quartz grill Select setting 4 on the setting control. Turn the temperature control to maximum/position 10. Place the food as near to the quartz tubes as possible without touching them. When using the grill the door must be left half opened. Place the drip tray under the grill shelf to catch the cooking juices and fat. [...]..
Téléchargez votre notice ! Téléchargement gratuit et sans inscription de tous types de documents pour mieux utiliser votre four KENWOOD OV351 : mode d'emploi, notice d'utilisation, manuel d'instruction. Cette notice a été ajoutée le Lundi 3 Mars 2008.
Vos avis sur le KENWOOD OV351
 Bon produit, tres bon produit. Bonjour, je suis satisfaite de ce produit, le problème est la destruction accidentelle du mode d'emploi siono c'est parfait merci, moyen trop cher, bon appareil performant, utilisation bien, mais avec le temps. Trés bon appareil, demande un peu de temps afin d'exploiter les
différents programmes.

Envoyer vos modes d'emploi - Foire aux questions - Dernières recherches - Derniers ajouts - Sitemap - Contactez-nous - Conditions générales - Politique de cookies
Copyright - Tous droits réservés.
Les noms de marques cités appartiennent à leurs propriétaires respectifs.


