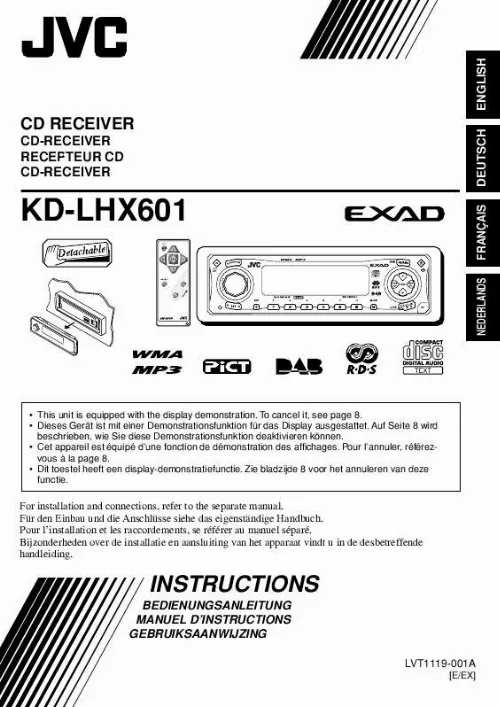
Notice JVC KD-LHX601
Liens commerciaux


Extrait du mode d'emploi JVC KD-LHX601
Les instructions détaillées pour l'utilisation figurent dans le Guide de l'utilisateur.
5 · Selects the band while listening to the radio or the DAB tuner. Each time you press the button, the band changes. · Skips to the first track of the next folder while listening to an MP3 disc or a WMA disc. Each time you press the button, you can move to the next folder and start playing the first track. · While playing an MP3 disc on an MP3compatible CD changer; Skips to the next disc if pressed briefly. Skips to the next folder if pressed and held. Note: While playing a CD on a CD changer, this always skips to the next disc. 6 Selects the source. Each time you press the button, the source changes. 7 Functions the same as the control dial on the main unit. Note: These buttons do not function for the preferred setting mode (PSM) adjustment. 5 ENGLISH Remote controller 3 · Selects the preset stations or service while listening to the radio or the DAB tuner. Each time you press the button, the preset station or service number increases, and the selected station or service is tuned in. · Skips to the first track of the previous folder while listening to an MP3 disc or a WMA disc. Each time you press the button, you can move to the previous folder and start playing the first track. · While playing an MP3 disc on an MP3compatible CD changer; Skips to the previous disc if pressed briefly. Skips to the previous folder if pressed and held. Note: While playing a CD on a CD changer, this always skips to the previous disc. ENGLISH Preparing the remote controller Before using the remote controller: · Aim the remote controller directly at the remote sensor on the main unit. Make sure there is no obstacle in between. Return the battery holder. Insert again the battery holder by pushing it until you hear a clicking sound. (back side) Remote sensor · Do not expose the remote sensor to strong light (direct sunlight or artificial lighting). Installing the battery When the controllable range or effectiveness of the remote controller decreases, replace the battery. Remove the battery holder. 1) Push out the battery holder in the direction indicated by the arrow using a ball-point pen or a similar tool. 2) Remove the battery holder. WARNING: · Store the battery in a place where children cannot reach. [...] 68 DISC OPERATIONS. 31 TROUBLESHOOTING. 69 MAINTENANCE. 72 Handling discs. 72 SPECIFICATIONS. 73 BEFORE USE *For safety. · Do not raise the volume level too much, as this will block outside sounds, making driving dangerous. · Stop the car before performing any complicated operations. *Temperature inside the car. If you have parked the car for a long time in hot or cold weather, wait until the temperature in the car becomes normal before operating the unit. 3 ENGLISH CONTENTS LOCATION OF THE BUTTONS ENGLISH Control panel 1 (standby/on/attenuator) button 2 TP/PTY (traffic programme/programme type) button 3 Control dial 4 Display window 5 FM/AM DAB button 6 5 (up) button 7 0 (eject) button (angle) button 8 9 p q w e r t y 4 /¢ buttons SEL (select) button D (DISP: display) button Number buttons M (MODE) button Remote sensor (down) button CD/CD-CH (CD changer) LINE button (control panel release) button Illumination Navigation for easy operations If you use M (MODE) or SEL (select), the display and some controls (such as the number buttons, 4 /¢ , 5/, and control dial) enter the corresponding control mode, then the controls start flashing to lead you to the next operational steps. (Illumination Navigation) · The display shows how these buttons function during this period. : When you press number button 1 after pressing M (MODE), to operate the FM tuner. Time countdown indicator To use these controls for original functions again, wait until the controls stop flashing without using these controls. · Pressing M (MODE) again also restores original functions. However, pressing SEL (select) makes the unit into a different mode. 4 4 Selects the sound mode (iEQ: intelligent equalizer). Each time you press the button, the sound mode (iEQ) changes. 1 · Turns on the unit if pressed when the unit is turned off. · Turns off the unit if pressed and held for a few seconds. · Drops the volume level in a moment if pressed briefly. Press again to resume the volume. 2 · Searches for stations while listening to the radio. · Selects services while listening to the DAB tuner if pressed briefly. · Searches for ensembles while listening to the DAB tuner if pressed for more than one second. · Fast-forwards or reverses the track if pressed and held while listening to a disc. [...]..
Téléchargez votre notice ! Téléchargement gratuit et sans inscription de tous types de documents pour mieux utiliser votre autoradio JVC KD-LHX601 : mode d'emploi, notice d'utilisation, manuel d'instruction. Cette notice a été ajoutée le Mardi 3 Mars 2009. Si vous n'êtes pas certain de votre références, vous pouvez retrouvez toutes les autres notices pour la catégorie Autoradio Jvc.
Vous pouvez télécharger les notices suivantes connexes à ce produit :
 JVC KD-LHX601 NOTICE D'INSTALLATION (428 ko)
 JVC KD-LHX601 (14586 ko)


