Mes Notices

600 000 notices et 900 000 pièces détachées électroménager

Notice JVC KD-AVX22E

Télécharger la notice

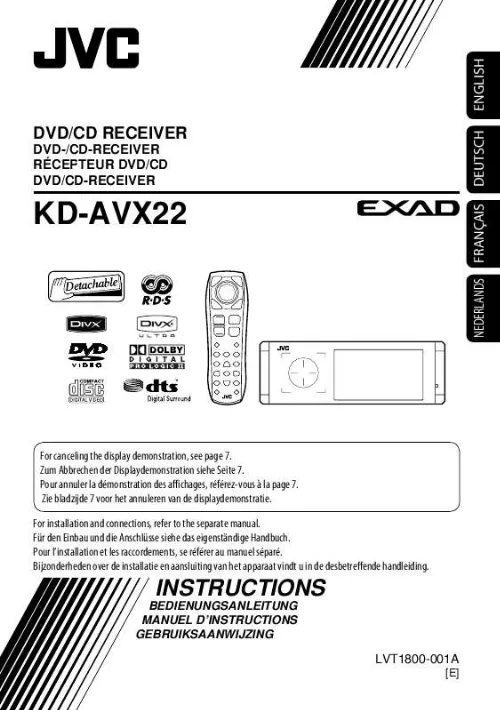
Extrait du mode d'emploi JVC KD-AVX22E

Les instructions détaillées pour l'utilisation figurent dans le Guide de l'utilisateur.

Time countdown indicator AV Menu Current setting of the selected item @ Enter the next screen. Setup High Pass Filter Through On Exit Enter Setup icons Current selected icon name · Non-available items will be shaded. · To return to the previous screen: ! Select an icon to enter the setup screen. · Repeat steps / and @ to set the sub-item if needed. ¤ Finish the procedure. In this manual, English indications are used for purpose of explanation. You can select the indication language on the monitor. ( page 49) 6 Canceling the display demonstration and setting the clock Setup Display Clock Disc Setup 1 Disc Setup 2 Tuner 2 AV Menu Clock Enter Setup Time Set Time Format OSD Clock Clock Adjust 0:00 7 3 Setup Display Clock Disc Setup 1 Disc Setup 2 Tuner Time Set Hours 18:00 Exit Time Set Minutes 18:35 Display Demonstration Wall Paper Color Scroll Tag Display On Exit 4 Demonstration Off On Exit 5 Return to by touching 4 repeatedly. 7 OPERATIONS ENGLISH 1 6 Basic operations -- Control panel ENGLISH 1 Selects sources. *1 "Tuner" = "DAB" = "Disc" = "USB" or "USB iPod" = "Changer," "iPod," or "External Input" = "AV Input" · You can also select sources by touching 5 / / 4 / ¢ after holding SRC for entering . 2 · Ejects the disc. · Tilts the control panel ( page 9). 3 Enters or exits . 4 · "Tuner" and "DAB": Searches for stations/ ensembles. · "Disc," "USB," "USB iPod," "Changer," and "iPod": Reverse skip/forward skip · On menus: ­ Enters the previous/next screen. ­ Selects items. 5 · Activates TA Standby Reception. · Displays PTY preset list [Hold]. 6 Adjusts the volume level. ( page 5) 7*2 · "Tuner": Selects preset stations. · "DAB": Selects services. · "Disc," "USB," and "Changer": Selects titles/ folders. · "USB iPod": Selects the next/previous items. · "iPod": Enters the player's menu and pauses playback. · On menus: Selects items. 8 · "Disc," "USB," "USB iPod," and "Changer": Starts and pauses playback. · On menus: Enters the next screen or exits the displayed screen. 9 Changes the display information. ( page 9) p · "Tuner" and "DAB": Selects the bands. · "Disc" and "USB": Stops playback. q · Turns on the power. · Turns off the power [Hold]. · Attenuates the sound (when the power is on). w Remote sensor e Resets the unit. [...] DVD-RW dual layer discs are not playable. *3 It is possible to play back finalized +R/+RW (Video format only) discs. +RW double layer discs are not playable. *4 This unit can play back AAC files encoded using iTunes. Caution for DualDisc playback The Non-DVD side of a "DualDisc" does not comply with the "Compact Disc Digital Audio" standard. Therefore, the use of Non-DVD side of a DualDisc on this product may not be recommended. 4 Before operations ENGLISH Touch pad controls The lights of the touch pad controls and monitor are turned off when no operation is done for about 10 seconds. The lights are turned on in the following cases: ­ When you move your hand close to the touch pad controls. * ­ When your finger touches the touch pad controls. * ­ When you use the remote controller. ­ When the source is automatically changed by receiving the Traffic Announcement or a programme searched by PTY search. ­ When the signal from the rear view camera comes in. * Depending on the setting. To change the setting, page 53. The lights are always turned on in the following cases: ­ While is displayed. ­ While is displayed. ­ While the control panel is open. ­ When is set to . ( page 53) Monitor How to operate the unit by the touch pad controls You can operate the unit by touching the appropriate part of the touch pad controls. · To adjust the volume, move your finger on the touch pad knob as illustrated below to display the animation on the monitor, then press 5 or repeatedly. ­ You can also adjust the volume by just continuing to move your finger on the touch pad knobs as illustrated below. Vol+ 15 VolVOL · When you slide your finger on the touch pad knob as illustrated below, it functions in the same way as touching 5 / / 4 / ¢. · Operations are explained mainly using the touch pad controls and buttons of the unit; however, the buttons on the remote controller can work in the same way if they have the same names or marks. · In the explanation, the screen names are highlighted. For example, . 5 INTRODUCTION Basic operations-- AV menu ENGLISH You can use the menus to set up various settings from . For details of each menu and setting, see "Menu items. " ( pages 48 to 55) AV Menu Enter Setup ~ Turn on the power. The lights of the touch pad controls and monitor are turned on. / Select an item. [...]..

Téléchargez votre notice ! Téléchargement gratuit et sans inscription de tous types de documents pour mieux utiliser votre autoradio JVC KD-AVX22E : mode d'emploi, notice d'utilisation, manuel d'instruction. Cette notice a été ajoutée le Mardi 3 Mars 2009. Si vous n'êtes pas certain de votre références, vous pouvez retrouvez toutes les autres notices pour la catégorie Autoradio Jvc.

Vous pouvez télécharger les notices suivantes connexes à ce produit :

   JVC KD-AVX22E NOTICE D'INSTALLATION (528 ko)
   JVC KD-AVX22E NOTICE D'INSTALLATION (533 ko)

Liens commerciaux