Pièces détachées HAIER HW100-14829, HAIER HW100-B14636, HAIER HW100-BD14756

* Prix indicatif de vente, le prix exact sera affiché après que vous ayez saisi la référence de votre appareil.
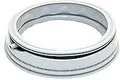
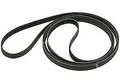
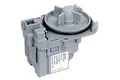
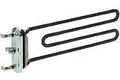
Les pièces détachées pour HAIER HW100-14829, HAIER HW100-B14636, HAIER HW100-BD14756 vous rendent service
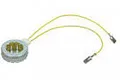
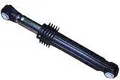
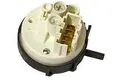
Vous avez l'impression qu'un élément étranger est tombé sous le tambour de votre machine à laver, une pièce détachée pour lave-linge HAIER HW10014... importante, car vous entendez régulièrement quelque chose qui se balade lorsque votre appareil est en route. Le manuel de votre HAIER HW100-14829 vous indiquera comment vérifier la présence d'un corps étranger qui se situerait sous le tambour de votre lave linge. Au lancement du programme, le voyant qui atteste qu'un cycle de lavage est en cours s'allume, puis vous observez que celui-ci se lance bien, cependant il s'arrête presque immédiatement et le voyant qui correspond à l'étape de rinçage s'éclaire. De plus, le bouton de départ se met à clignoter vivement. Votre lave-linge s'est mis en route durant une seconde, puis s'est arrêté. Depuis, plus rien ne démarre, les voyants ne s'allument plus non plus. Vous trouverez quel élément de l'alimentation de votre lave linge s'est débranché en consultant le schéma de montage de votre HAIER HW100-14829.


Extrait du mode d'emploi HAIER HW100-14829
Téléchargez votre notice ! Téléchargement gratuit et sans inscription de tous types de documents pour mieux utiliser votre lave-linge HAIER HW100-14829 : mode d'emploi, notice d'utilisation, manuel d'instruction. Cette notice a été ajoutée le Mardi 6 Juin 2019.

Envoyer vos modes d'emploi - Foire aux questions - Dernières recherches - Derniers ajouts - Sitemap - Contactez-nous - Conditions générales - Politique de cookies
Copyright - Tous droits réservés.
Les noms de marques cités appartiennent à leurs propriétaires respectifs.