Pièces détachées DAEWOO TVCR210


* Prix indicatif de vente, le prix exact sera affiché après que vous ayez saisi la référence de votre appareil.


Extrait du mode d'emploi DAEWOO TVCR210
Les instructions détaillées pour l'utilisation figurent dans le Guide de l'utilisateur.
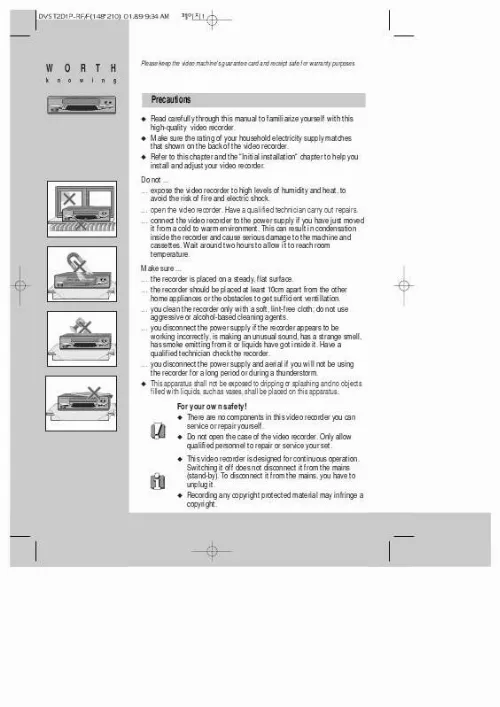
, and with no heavy objects placed on top. Connecting up the video recorder Switch off all components when connecting or disconnecting cables. AC 230V~ 50Hz 1 4 2 5 3 6 TV/VCR x AV A 7 8 9 30 0 x Unplug the aerial cable from your TV and plug it into the "ANT. IN" socket of the video. Plug the short coaxial cable provided into the "ANT. OUT" socket of the video and the aerial socket of the TV. Plug a RCA cable into the "RCA" socket of the video and the AV socket on the TV if available. EJECT SP/LP PAL/SEC INDEX PR MENU This connection will provide best picture and sound quality. Ask your dealer for an appropriate cable if you do not have one. Without a RCA cable, you need to follow the steps described under "If you are not using a RCA cable" (right page and page 19). x Make sure the rating of the household mains supply matches the rating shown on the back of the video. PR A. SEL Now plug in the mains lead. The display of the video should now light. Fitting the remote control's batteries + The buttons to use are marked on the following pages. 5 V (AAA) Fit the batteries as shown by the pictures in the bay. x Protect your environment by returning used batteries to your dealer. Since batteries contain toxic substances they require special disposal methods. x Make sure the batteries are always of the same type and age, and remove them from the remote control if you are not using it for a long period. 4 + x Switch the TV on. x You can also start "Auto Search" in the menu "PR I n i t i a l Preset" "Auto Search". x To tune in new stations (manual tuning) and to enter station names see page 16-18. INSTALLATION Setting up the video cassette recorder You should see this picture the first time you switch on the TV and video. OK for "Auto Search!". AUTO SEARCH! OK:CONFIRM MENU:END AUTO SEARCH PR03 V-L - - - - - - - 76% ------ "AUTO SEARCH" tunes in all the stations you can receive in your country and. MENU:END AUTO SEARCH. sorts them in an order common for your country. PLEASE WAIT. 1 4 2 5 3 6 CLOCK SET TIME - - : - DATE - - / - - /- - - 0-9:SETUP (HOUR) / :CORRECT MENU:END 7 8 9 0 Then type in the current time and date. [...] (refer to page 20) clock/counter on-screen display AV 1 4 2 5 3 6 TV/VCR this button is not available for this set this button is not available for this set 30 AV A 7 8 9 30 0 CM skip button to cue the tape for 30 seconds pause (record), still (playback) playback start EJECT playback stop rewinding/fast forwarding a cassette from stop, or picture search backwards/forwards from playback mode the record or OTR button (One Touch Recording means: each time you press the button recording is extended by 30 minutes) EJECT SP/LP PAL/SEC INDEX PR MENU PR A. SEL to eject the cassette a button that doubles the maximum recording time for very long recordings the variable slow motion button SP/LP The buttons to use are marked on the following pages. PR MENU the menu controls, programme (station) selection (PR +/) PR INDEX to search the beginnings of records (index) this button is not available for this set this button is not available for this set PAL/SEC A. SEL 2 x Press any button to turn on the power. CONTROLS The machine STANDBY/ON playback stop and ejecting the cassette front input sockets for connecting a camcorder programme (station) selection recording or OTR (One Touch Recording means: each time you press the button recording is extended by 30 minutes) rewinding / fast forwarding a cassette from Stop, or picture search backwards / forwards from playback mode. playback start On screen display MAIN MENU TIMER PROGRAM PR PRESET VCR SETUP TAPE CONTROL PR+/-:SELECT OK:CONFIRM MENU:END VCR SETUP CLOCK SET RF OUTPUT SET 16:9 SET OSD ON/OFF PR+/-:SELECT OK:CONFIRM REW SP PR04 EURO * example PR MENU MENU:END The video's menu system gives you easy-to-understand access to the less used functions such as tuning to stations, clock setting and more. "Tape Control" Menu appears only when a tape is in the VCR. 2x The menus show you which button to press for the next step. In addition, some other functions appear on screen temporarily. * Though the "16:9 Set" is displayed on the screen, this function is not available for this set. 3 I n i t i a l I N S TA L L AT I O N Place your video x horizontally on a flat, steady base so that air can circulate around it for ventilation. [...]..
Téléchargez votre notice ! Téléchargement gratuit et sans inscription de tous types de documents pour mieux utiliser votre four micro-onde DAEWOO TVCR210 : mode d'emploi, notice d'utilisation, manuel d'instruction. Cette notice a été ajoutée le Jeudi 12 Décembre 2010.
Vos avis sur le DAEWOO TVCR210
 Je ne sais pas quoi dire , si vous me donner se que je veu je serais ravis. Tres bon produit, pas de prise pc dommage.

Envoyer vos modes d'emploi - Foire aux questions - Dernières recherches - Derniers ajouts - Sitemap - Contactez-nous - Conditions générales - Politique de cookies
Copyright - Tous droits réservés.
Les noms de marques cités appartiennent à leurs propriétaires respectifs.


