Pièces détachées CANDY CFT610/4X


* Prix indicatif de vente, le prix exact sera affiché après que vous ayez saisi la référence de votre appareil.
Les pièces détachées pour CANDY CFT610/4X vous rendent service
Votre hotte ne fonctionne plus, pas d'éclairage et pas d'aspiration, les 3 leds de vitesse du moteur restent allumées, vous ignorez ce que vous devez vérifier. La hotte ne fonctionne qu'en la débranchant et la rebranchant, la lumière s'allume et le ventilateur reste en position 2, vous aimeriez savoir que faire pour arrêter le tout. Consultez la notice si , la mise en fonctionnement, la sélection des vitesses ainsi que la mise en arrêt de la hotte CANDY CFT610/4X est très longue, voir impossible, mêvous chose pour la lumière et les 2 autres boutons. Vous voulez savoir s'il existe un filtre de protection du moteur sur ce type de hotte et s'il doit êter changé. Vous souhaitez installer la hotte en version recyclage mais vous ne disposez pas du déflecteur de fumée, vous voulez savoir comment procéder. La notice vous donnera des informations car vous avez une hotte CANDY CFT610/4X aspirante au-dessus de votre cuisine vous voudriez la désinstaller car elle ne fonctionne pas et vous pensez que vous devez nettoyer le moteur car elle ne démarre pas.


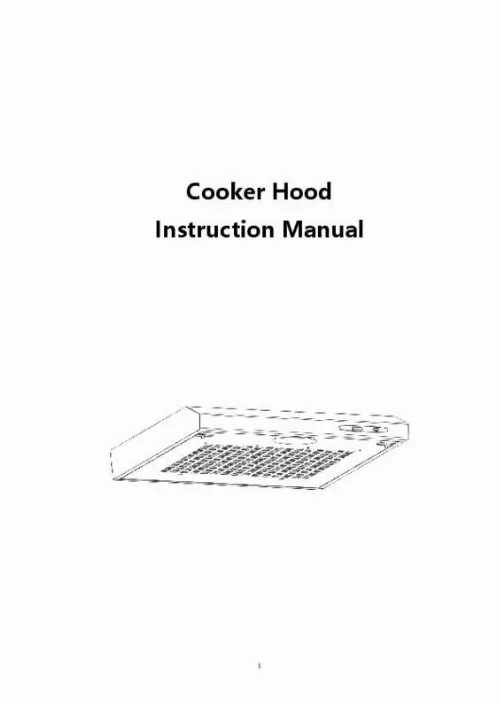
Extrait du mode d'emploi CANDY CFT610/4X
Les instructions détaillées pour l'utilisation figurent dans le Guide de l'utilisateur.
Ensure that the cooker hood is switched off at the wall socket and the plug removed. • External surfaces are susceptible to scratches and abrasions, so please follow the cleaning instructions to ensure the best possible result is achieved without damage. GENERAL Cleaning and maintenance should be carried out with the appliance cold especially when cleaning. Avoid leaving alkaline or acid substances (lemon juice, vinegar etc. ) on the surfaces. STAINLESS STEEL The stainless steel must be cleaned regularly (e. weekly) to ensure long life expectancy. Dry with a clean soft cloth. A specialized stainless steel cleaning fluid may be used. NOTE: Ensure that wiping is done along with the grain of the stainless steel to prevent any unsightly crisscross scratching patterns from appearing. CONTROL PANEL SURFACE The inlay control panel can be cleaned using warm soapy water. Ensure the cloth is clean and well wrung before cleaning. Use a dry soft cloth to remove any excess moisture left after cleaning. Important Using neutral detergents and avoid using harsh cleaning chemicals, strong household detergents or products containing abrasives,as this will affect the appliance appearance and potentially remove any printing of artwork on the control panel and will void manufactures warrantee. 8 GREASE MESH FILTERS The filters can be cleaned by hand. Soak them for about 3 minute in water with a grease-loosening detergent then brush it gently with a soft brush. Please do not apply too much pressure, avoid to damage it. (Leave to dry naturally out of direct sun light) Filters should be washed separately to crockery and kitchen utensils. it is advisable not to use rinse aid. ● ● Removing the filters as the instruction in Pic. below. Please do not use abrasive detergent for it will damage the hood. INSTALLING GREASE MESH FILTERS • To install filters for the following four steps. - Angle the filter into slots at the back of the hood. - Push the button on handle of the filter. - Release the handle once the filter fits into a resting position. - Repeat to install all filters. CARBON FILTER Activated carbon filter can be used to trap odors. Normally the activated carbon filter should be changed at three or six months according to your cooking habit. The installation procedure of activated carbon filter is as below. Remove the grease filter. Place the carbon filter onto the grease filter. [...] Horizontal ventilation: See Pic 4A, please use the cover to seal the outlet on the top, then the air can be vented from back. Vertical ventilation: See Pic 4B, please use the cover to seal the outlet on the back, then the air can be vented from top. Air ventilation setting Outdoor air ventilation: Turn the adjuster to outdoor position(pic. 5A), install the outlet, turn on the cooker hood, then the air will be vented from the outside outlet. Indoor air ventilation: Turn the adjuster to indoor position (pic. 5B), install the outlet cover, turn on the cooker hood, then the air can be vented from the inside outlet. 6 WARNING: ➢ For safety reason, please use only the same size of fixing or mounting screw which are recommended in this instruction manual. ➢ Failure to install the screws or fixing device in accordance with these instructions may result in electrical hazards. Start Using Your Cooker Hood Toggle switch There are 3 speeds for the motor and on off switch for the lamp. Slide the switch for operation. Motor Operation 0off 1Low Power Setting 2Mid Power Setting 3High Power Setting Light Operation 0Off 1On TROUBLESHOOTING Fault Light on, but motor does not work Light does not work, motor does not work Possible Cause Fan switch turned off Fan switch failed Motor failed House fuses blown Power cord loose or disconnected One way valve and the outlet are not tightly sealed Leakage from the connection of chimney and cover Solution Select a fan switch position. Contact service center. Contact service center. Reset/Replace fuses. Refit cord to power outlet. Switch power outlet on. Take down the one way valve and seal with sealant. Take chimney down and seal. Oil leakage 7 Lights not working Insufficient suction The Cooker hood inclines Broken/Faulty globes The distance between the cooker hood and the gas top is too far The fixing screw not tight enough Replace globes as per this instruction. Refit the cooker hood to the correct distance. Tighten the hanging screw and make it horizontal. NOTE: Any electrical repairs to this appliance must conform to your local, state and federal laws. Please contact the service centre if in any doubt before undertaking any of the above. Always disconnect the unit from the power source when opening the unit. [...]..
Téléchargez votre notice ! Téléchargement gratuit et sans inscription de tous types de documents pour mieux utiliser votre hotte CANDY CFT610/4X : mode d'emploi, notice d'utilisation, manuel d'instruction. Cette notice a été ajoutée le Mercredi 1 Janvier 2021.

Envoyer vos modes d'emploi - Foire aux questions - Dernières recherches - Derniers ajouts - Sitemap - Contactez-nous - Conditions générales - Politique de cookies
Copyright - Tous droits réservés.
Les noms de marques cités appartiennent à leurs propriétaires respectifs.


